
In this post, I will go over the steps of building a Copilot agent and publishing it to Microsoft Teams so that users can ask the agent questions directly from within Teams.
The first thing that is needed is access to Microsoft Copilot Studio. You can get a 30 day trial of Copilot Studio by going to https://copilotstudio.microsoft.com/ and requesting a 30 day trial. If you don’t have your own tenant, you can get a trial tenant from Microsoft Customer Digital Experiences and setup a demo environment (https://cdx.transform.microsoft.com).
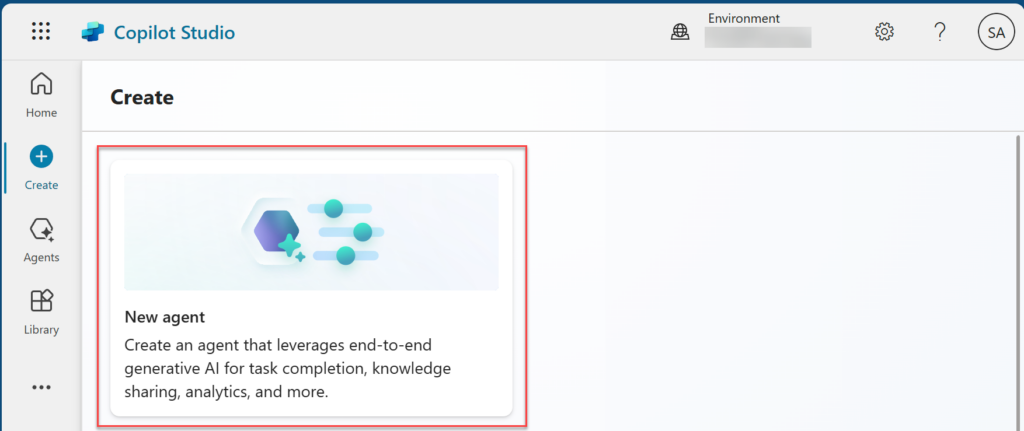
When you navigate to Copilot Studio, click on the Create button on the left navigation, and select the New agent option there as shown in the screenshot below.
Once you click on the New agent button a new conversational creation experience chat will open up. You can chat with the agent to help you create your own agent or click on the Skip to configure button to configure it by yourself. Let’s go ahead and click on the Skip to configure button.

This will provide you with the agent creation page where you can enter the agent name, change the icon, enter a description and instructions and add knowledge to your agent for providing the source of where the files will be coming from. The screenshot below shows this new page.
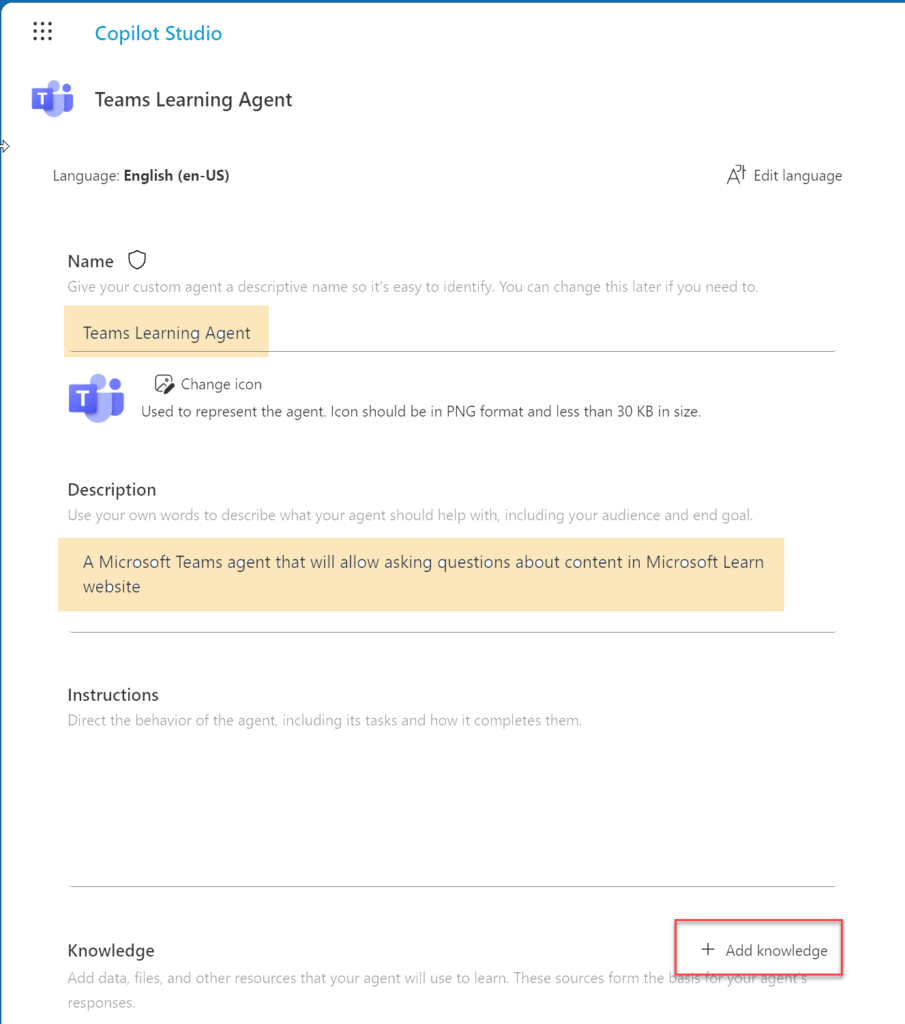
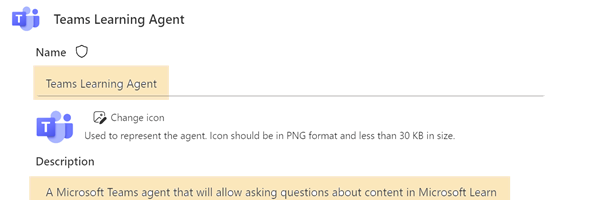
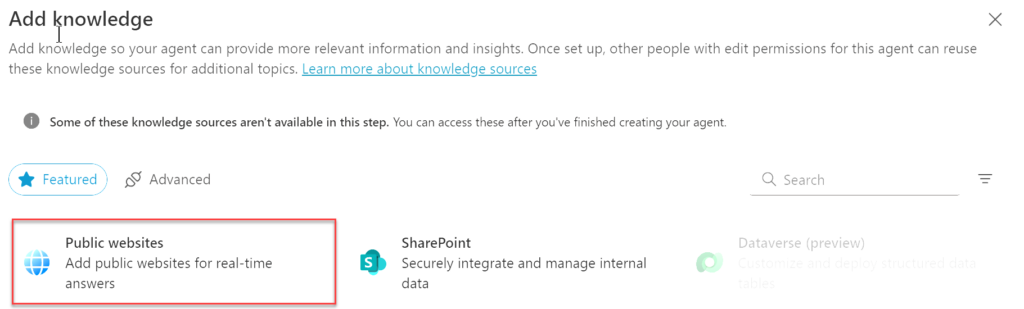
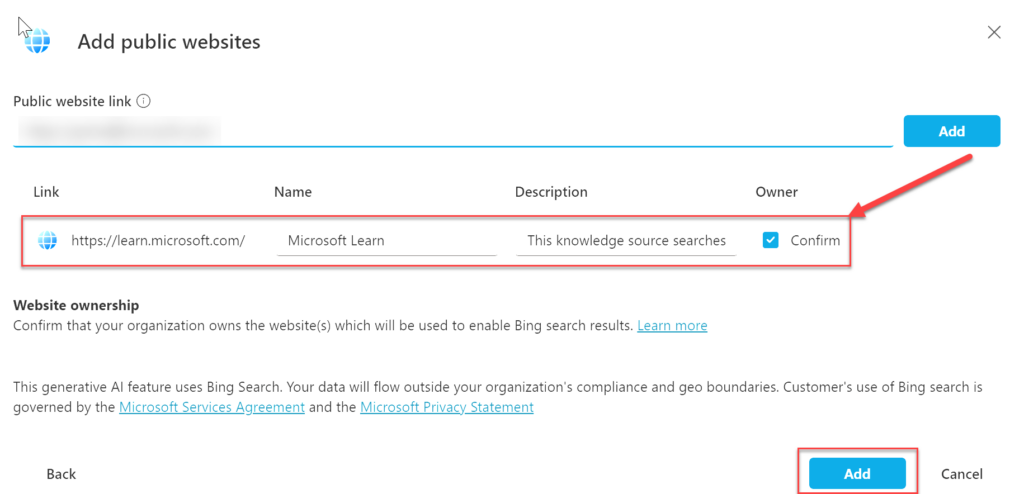
Enter the name and description and change the icon if required. The next step is to add the source of this knowledge. In our case our knowledge will come from the Microsoft Learn web site. Click on the Add Knowledge button, and then select Public websites.
In the Public website link, enter the website url (such as https://learn.microsoft.com) and click on the Add button to the right of the Url. In the link table, you can modify the name and description, and check the Confirm button to confirm this Url. When done press the Add button as shown below.
Click on the Create button at the top right of the page to finish Creating this agent.

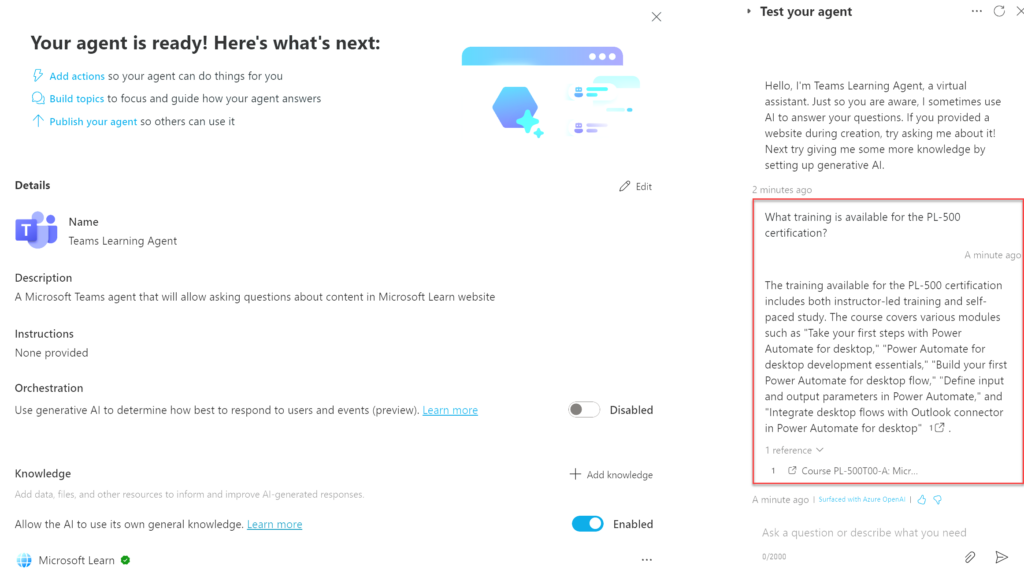
Your agent will be created. This can take a minute or so until your agent is ready and all the information is available. On the right hand side of the page, you will see a Test pane. This will allow you to test the agent. You can ask the agent questions directly in the pane to make sure it is working as expected. In the screenshot below we asked the agent for available training for the PL-500 examination.
At this point we will go ahead and publish the agent before we set it up in Microsoft Teams. On the right hand side of the screen, click on the Publish button to publish the agent.

A pop-up will appear confirming if you want to publish the agent. Click on the Publish button again in the Pop-up window.
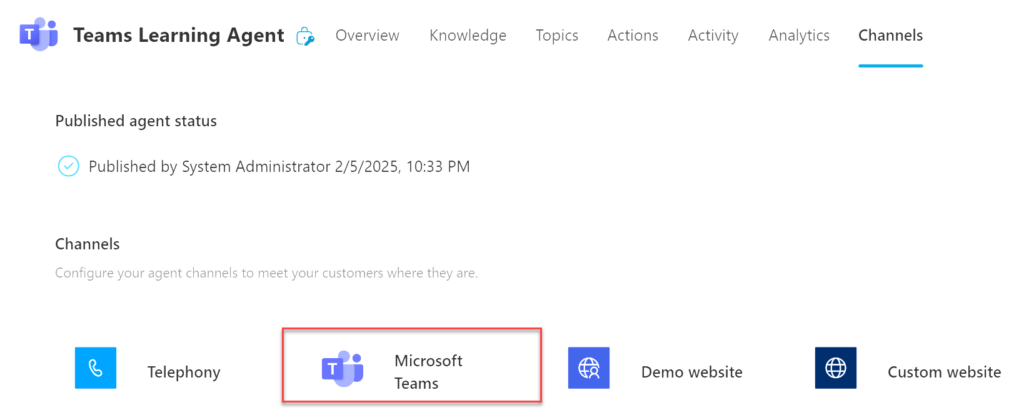
Once the agent is published, we will want to get it deployed to Microsoft Teams. We do this by configuring a Teams Channel. Click on the Channels tab and select Microsoft Teams from the list of channels that are available to configure.
In the Microsoft Teams pane, select Turn on Teams. This will turn on the Teams channel. At this point in the same pane, select the Open agent to add the agent to the Teams channel.
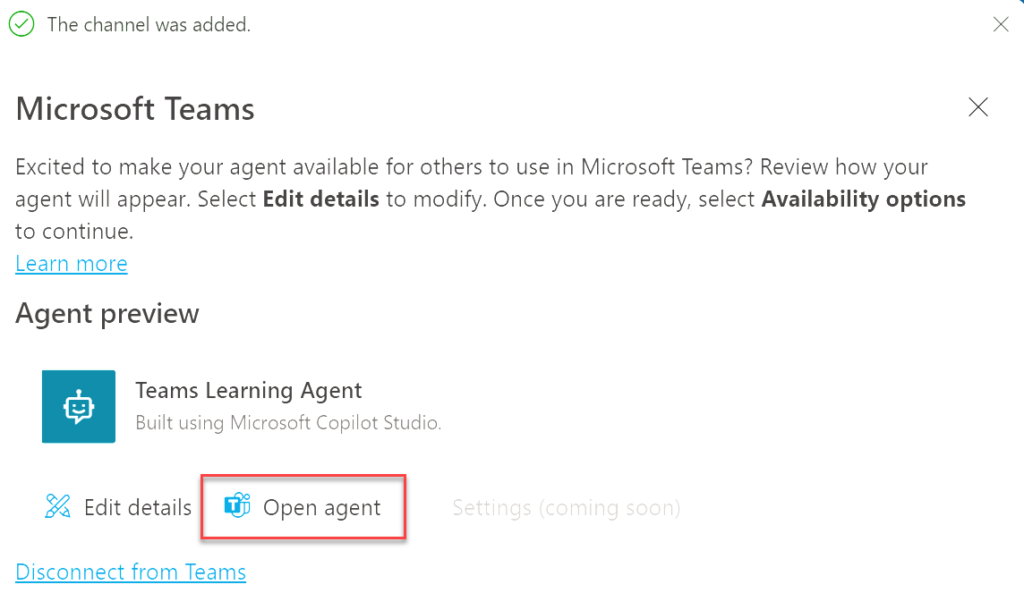
After clicking the Open agent button, Microsoft Teams will open (your can select using the Teams app or web browser depending on your environment).
If you get an error that specified that the agent could not be found try this process again. Sometimes there might be a short delay to when the agent is available to be added in Microsoft Teams.
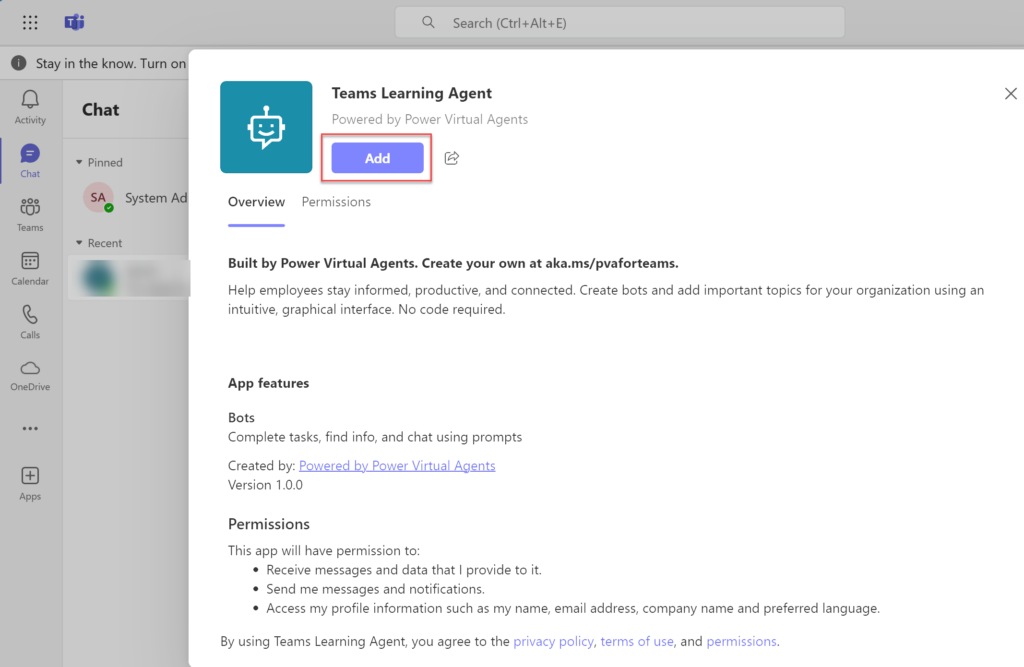
You will now see the Teams Learning Agent popup within Microsoft Teams. Click on the Add button to add this Agent to Teams as shown below.
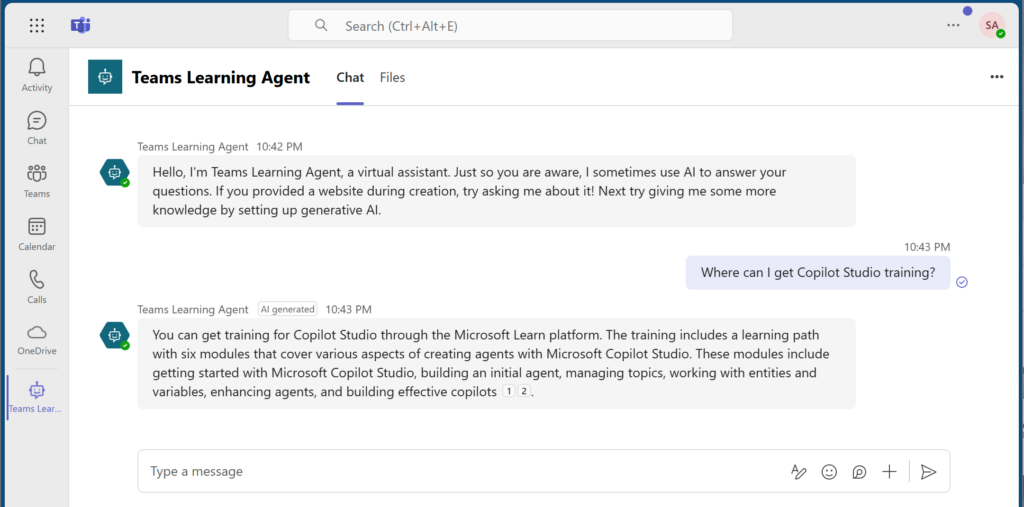
A popup will appear saying that your agent was added successfully. Click on the Open button to start talking to the newly created agent. We can the agent some questions, and talk to the agent about any of the content that is available on the Microsoft Learn website. The image below shows the conversation with the agent.
That’s basically it. Easy to use, publish and deploy your Copilot agent.