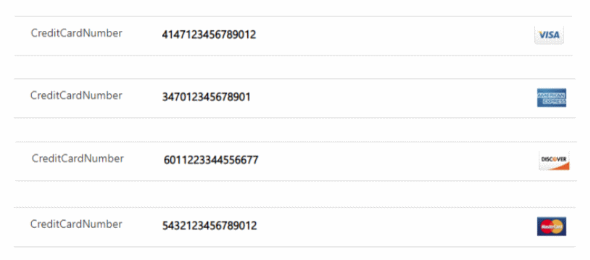
Recently, I published a blog post on creating a PowerApp that validates a Credit Card number, and displays the correct image next to the card based on the Card number. As my first PowerApps Component Framework application, I took the same logic of the PowerApp that I created, and decided to create a PCF control that will do the same. I have also created a training guide for this, so that you can follow this logic step by step, which you can download at the bottom of this post.
In order to develop a PCF control, there are a few prerequisites that need to be installed on your machine. The first is that you need to have Visual Studio 2017, so that you can use the Developer Command Prompt for VS 2017, and you need to download and install Node.js. In the demo document we use the 10.15.3 LTS version (at the time of writing this article). We also need to download and install the PowerApps Command Line Interface (CLI).
I prepared this lab particularly for part of a Dynamics 365 Saturday NYC workshop that will be held on June 7th and 8th. This lab will cover creating the project, configuring the control manifest file, building the index.ts file and the stylesheet (if required), building the control, testing the control and deploying the control into your Microsoft Dynamics 365 or CDS environment. We will finally create a field for the Credit Card number, and add the control to the form.
The animated gif below shows the end result of using the PCF control on a form in Unified Interface

You can download the lab instructions, source code and solution using the links below:

