As part of the 2024 Power Platform Release Wave 1, Microsoft has released (currently in Public Preview) the ability to create secured fields and mask either all or parts of the field based on regular expressions. This would allow us to show parts of the secured fields (such as the last 4 digits of a social security number) on the form without having to deal with custom scripts and not having the ability to export the full data of those fields.
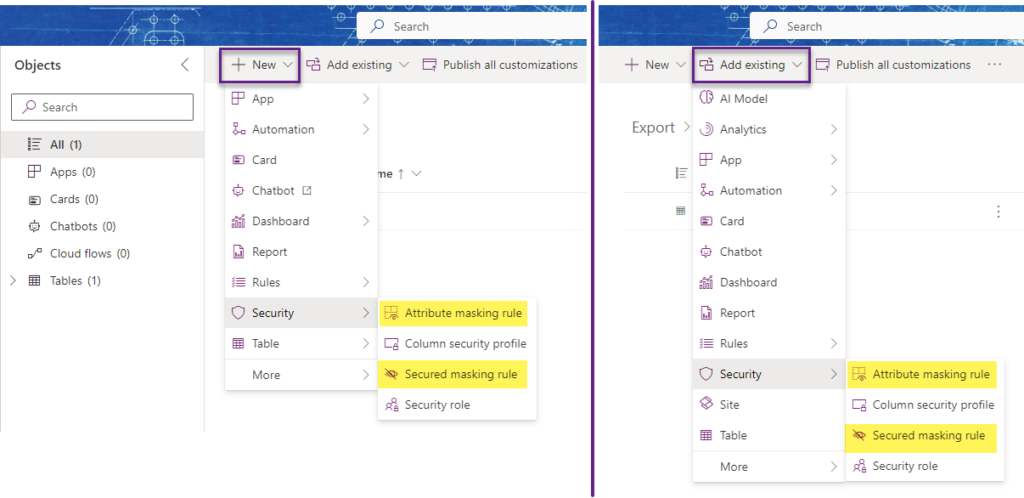
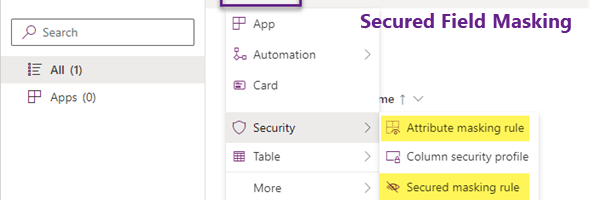
To start, this feature has introduced two new components that can be added to our solution (via Add New or Add Existing) called Attribute Masking rule and Secured Masking rule.

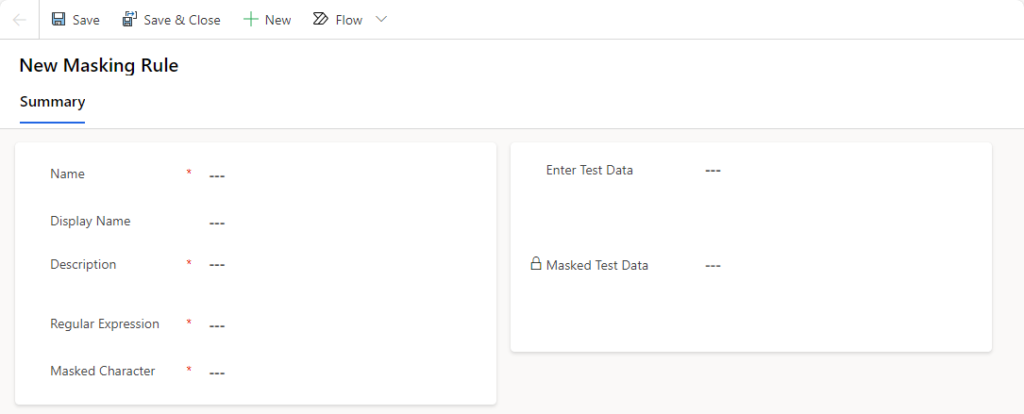
The secured masking rule is where you specify the configuration of a rule. In here you provide a name, display name, description, the regular expression and the masked character for displaying this on the form or view. In order to start creating a Secured masking rule, in your solution, click on New, select Security and then select the Secured masking rule. The following form will appear.

Start filling out the information and enter the regular expression and the masked character that you want to display instead of the text. For our first example let’s take a social security number. OOB, there are a few existing regular expressions available for Dates and Social Security number. From the two that are available for Social Security Number, the first will make the entire number, while the second will show the last 4 digits of the SSN. This is a great option especially for customer service calls where the agent can ask can you please verify the last 4 digits of your SSN.

Once you have create the Secured Masking rule that you want to use, you can go ahead and create the secured field and map it to this rule. First go ahead and create a new column that you want to use, in our case a Social Security Number column, and save the changes.

Next, navigate to New, Security and select Attribute Masking rule. Here is where we will create the relationship between the attribute and the masking rule. We will need to specify the name of the table, attribute and masking rule

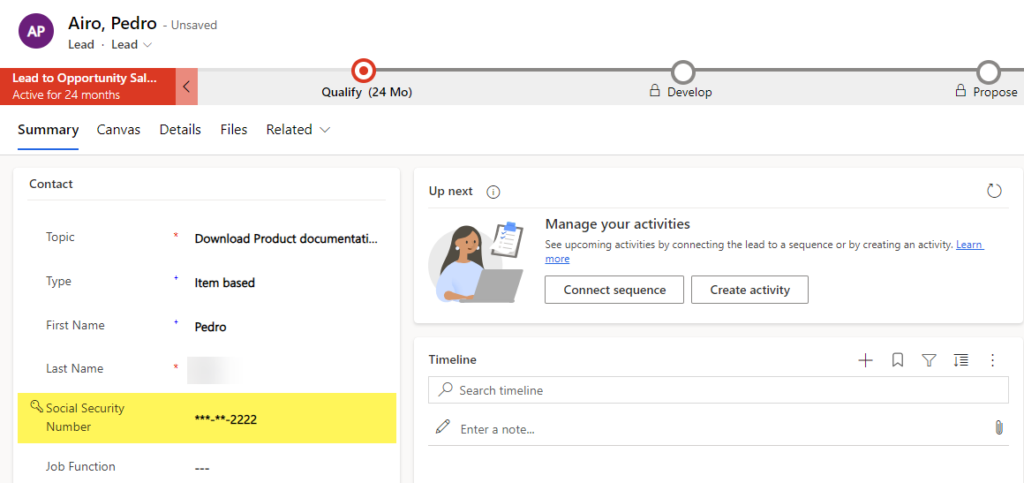
Once this is done, go ahead and add the new column to Forms and views and needed. You will notice that on the form, you will be able to enter the full SSN number (based on your permissions), but once the form is saved it will display the field as masked secured field with only the Social Security Number displayed masked.

You will notice that even in the views, the data will be masked and not only on the form, and if you export the data to Excel as well you will only see the masked data.


I hope that this feature will help you with your apps and provide the ability to add some additional security layers so that users can see only the information that they need and not additional information. There can be many uses for this where you do not want to show to the end users the full data set for particular fields.

