In the second post will concentrate on the configuration of Eventbrite. We assume that you have already an Eventbrite account and you can create your own events. If you don’t have an Eventbrite account yet, this is the time to create one. You only need an email address and to set a password in order to create an Eventbrite account. Eventbrite is available as a free or paid service. Everything in this series of posts was done using the free Eventbrite account.
Once you have created your account and are logged onto Eventbrite, on the top banner, click on the arrow next to the profile picture and select Account Settings.

This will load the Account Settings page. At the bottom of the Account Settings navigation, there are two items available under Developer Links API Keys and Webhooks. We will first configure an API key.
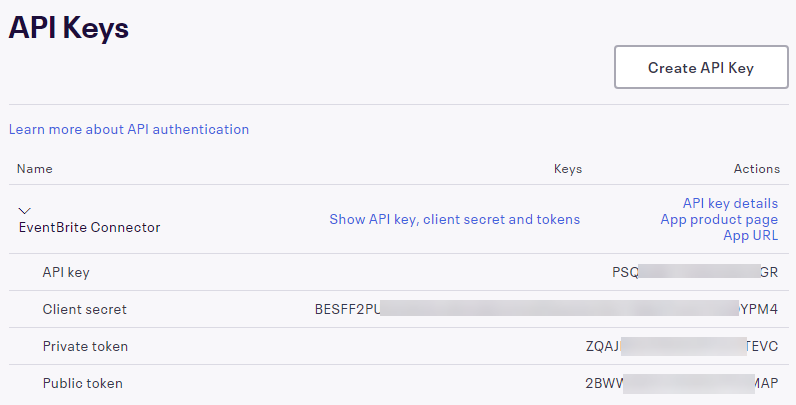
Click on the Create API Key button. A new form will pop ask asking for contact information, application Url, oAuth Redirect URI, Application Name and Description. Enter the details for your application. Once this information has been entered, you will see the name API Key details under the API Key

Copy the data from the Api Screen. You will need it for later in the process. You can always come back to Eventbrite account settings and copy these values again.
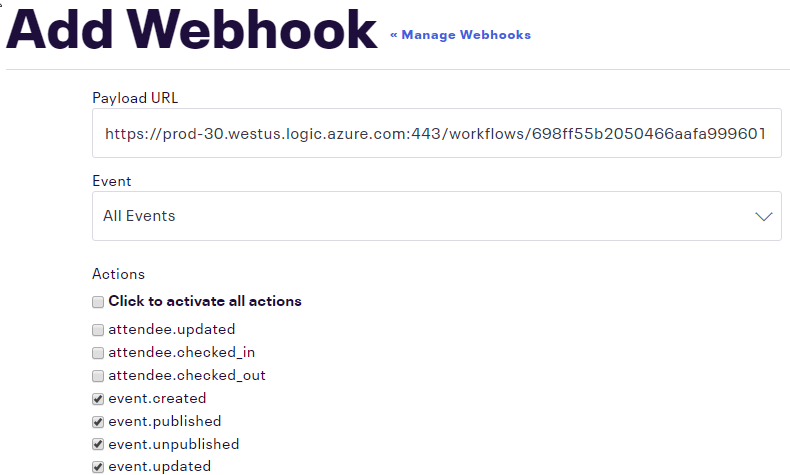
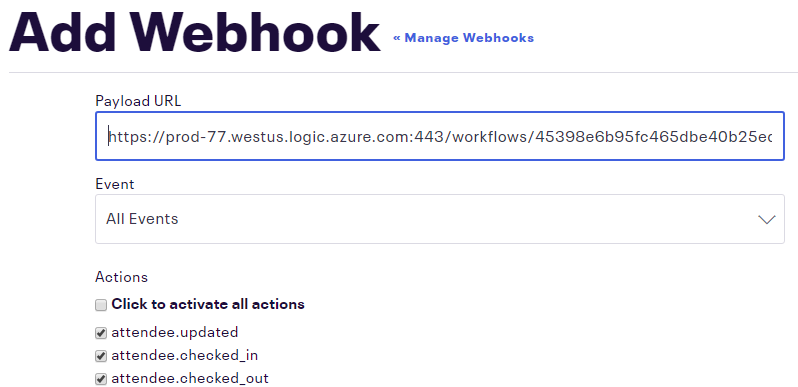
The next thing that we need to do is Add two Webhooks. The first is for the Event creation and the second is for the Attendee registration. Based on the way that you configure Eventbrite and the type of events that you have, you might want to configure additional webhooks. In order to add a Webhook, we need to provide a Payload URL. Since we are going to use flows (Microsoft Power Automate) to receive the HTTP requests, we need to create those first and get the Url addresses from them, which is what we did in the previous section.
Events Webhook:

Attendees Webhook:

1 – PREREQUISITES | 2 – EVENTBRITE SETTINGS | 3 – CUSTOM CONNECTOR | 4 – EVENT FLOW | 5 – ATTENDEE FLOW | 6 – TESTING

